HOW TO MAKE [ALMOST] ANYTHING_MAS.863
Week 02 - Electronics Production

This weeks assignment was to make an in-circuit programmer. This included milling the copper, stuffing, and programming. I have absolutely no experience with electronics and was a little intimidated by this task
Milling was a fairly straightforward process (we did not design the boards).
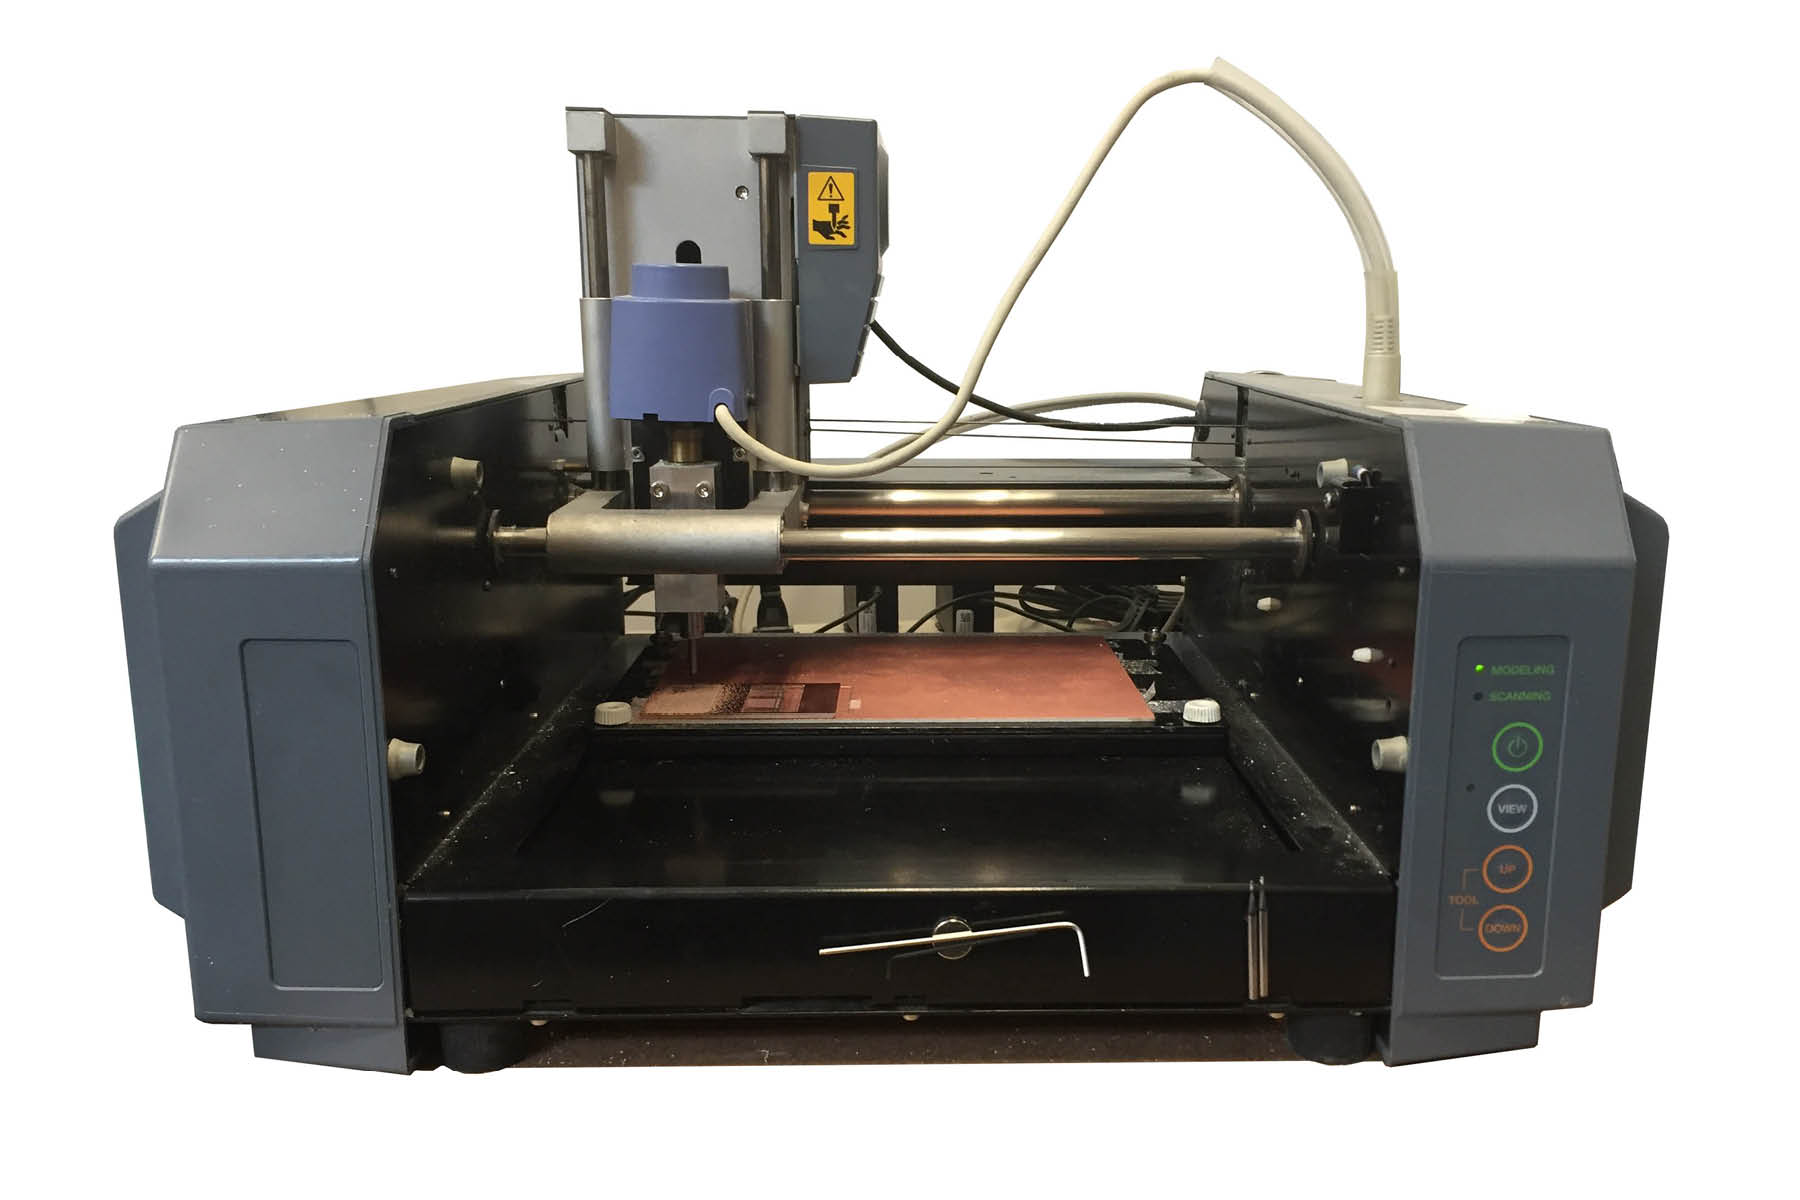
The milling process involves two parts - first you send the traces using a 1/64" bit (top right image below). Then you change the bit and cut the boundary (bottom right image below). The entire process takes about 10 minutes and generates quite a bit of copper dust.

While I don't exactly know what all these parts and pieces do yet, I gathered all the parts required to make a functional board, according to the class instructions.

Soldering was a new experience. I made a number of mistakes and learned how to use braid as well as the heat gun. I soldered two boards - the first one took about an hour, and the second one took about 20 minutes. However, the second one did not work, and I'll get to that later.

First board: Electricity was flowing and the green light turned on, however I was not initially able to program it - one of my diodes was flipped. The image below (right) shows the proper orientation. It was a pretty quick fix and I now have a programmed board.
Second board: Feeling pretty confident, I got a little careless with the soldering. I attached the ATTiny backwards - orientation matters on this one too. Since it's attached at 14 spots, it was a little more difficult to remove. I started trying to remove the solder with the braid, without much luck. I switched to the hot air gun and was able to pull the piece off. This left a pretty big scorch mark on the board (see left photo below), but it did not seem to cause any problems with the electronics.
Here's where I made the mistake, though: I reused the ATTiny (in its proper orientation). I didn't realize that it the chip had been fried by the heat gun. Lesson learned: do not fry your microcontroller. Now that the whole board has been stuffed, I'm not exactly sure how to remove and replace it without frying the rest of the parts.

So, after closely following the provided diagram, I was able to successfully program one board.

Special thanks to Justin for his help with the soldering and programming!
